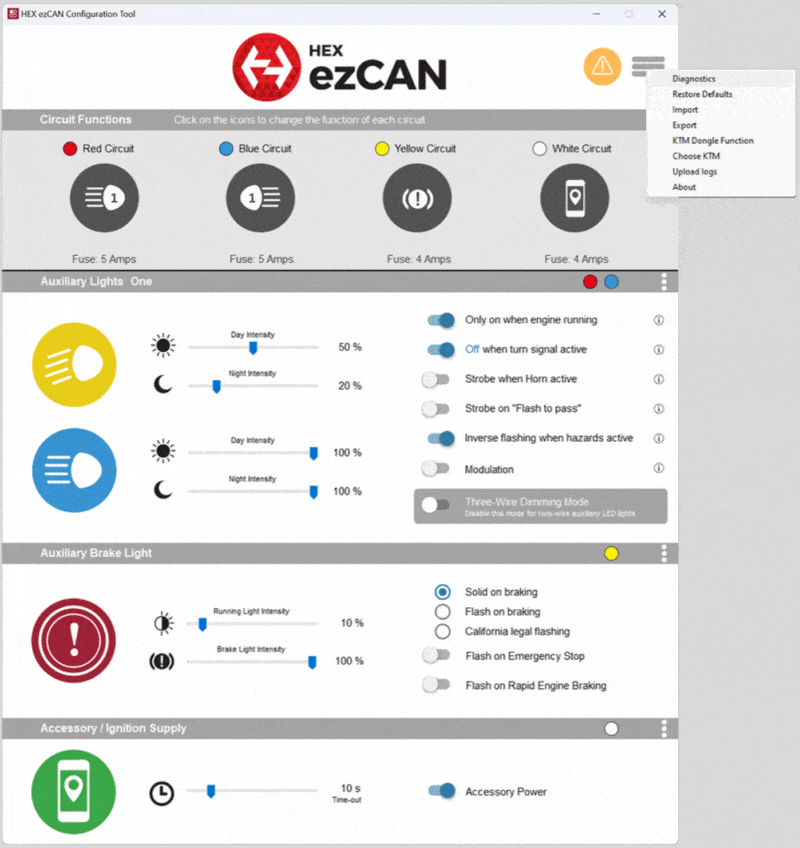
IMPORTANT: Generation I HEX ezCANs are no longer in production. All HEX ezCANs currently in production are Generation II.
Generation l 3-wire HEX ezCAN (55mm / 2,2″ silver main body; white packaging carton):

Generation l 2-wire HEX ezCAN (55mm / 2,2″ black main body; white packaging carton):

Needed tools:
Step 1: Locate the DWA connector

Depending on whether your bike has DWA (the factory BMW anti-theft alarm system), the DWA connector will be seen in one of two configurations:

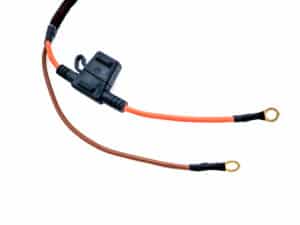
Step 2: Locate the vehicle battery

3. The battery is located in a recessed compartment above the engine airbox (above).

Step 3: Locate the horn
The factory horn is located between the front forks, under the lower triple clamp (above).
To reach the factory horn connector:
Step 1: Locate the DWA connector
1. Remove the seat.

2. The DWA connector is located inboard of the fuel filler cap (above).
Depending on whether your bike has DWA (the factory BMW anti-theft alarm), RDC (the factory BMW tyre-pressure monitoring system), or does not have either system, the DWA connector will be in one of two configurations:
Step 2: Locate the vehicle battery

Step 3: Locate the horn
The factory horn is located under the left front main trim panel, next to the left fork leg. The horn can be reached from the bottom edge of the trim panel (below).