IMPORTANT: Generation I HEX ezCANs are no longer in production. All HEX ezCANs currently in production are Generation II.
Generation l 3-wire HEX ezCAN (55mm / 2,2″ silver main body; white packaging carton):

Generation l 2-wire HEX ezCAN (55mm / 2,2″ black main body; white packaging carton):

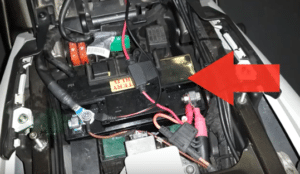
Step 1: Locate the DWA connector
On all BMW K1600 models, the HEX ezCAN is controlled through the bike’s DWA (factory BMW anti-theft alarm system) connector, whether or not the bike is equipped with the optional BMW anti-theft alarm system.
The DWA connector is located under the front edge of the top box rack/pillion grab handle (below).
![]()
Depending on whether your bike is equipped with DWA, the DWA connector will be seen in one of two configurations:
If your motorcycle has the factory BMW DWA system: The DWA connector will be plugged into the DWA module (a typical view is shown below).
If your motorcycle does not have the factory BMW DWA system: A resistor plug will be connected to the DWA connector.
![]()
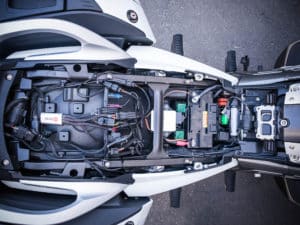
Step 2: Locate the vehicle battery
The bike’s battery is located under the front seat (green icon, below).
![]()